This is a step-by-step tutorial on getting your own instance of Magnolia CMS - one of the most popular open-source Content Management Systems (CMS) running in Jelastic Java cloud cloud for you (scroll down if you want to see a video version of the same procedure).
(Jelastic can natively run any Java application with no code changes required so the procedure below is applicable to most Java applications.)
1. Create the environment
- Go to jelastic.com.
- If you don't have an account there yet - sign-up for one - it is free.
- Login with your Jelastic credentials by clicking the Log In link on the page.
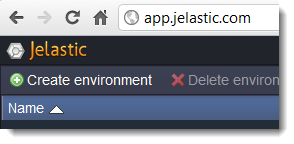
- Click Create environment in the top left corner of the dashboard:
5. In the environment constructor, select Tomcat as your App server, set the Cloudlets limit ("cloudlet" is a chunk of memory (128 MB) and processing power measuring how much resources are granted to your server) to at least 4 (don't be afraid to set to a higher limit - e.g. 16 - in reality Jelastic will be only using the minimum the application needs), and specify your environment name: e.g. Magnolia, then click Create:
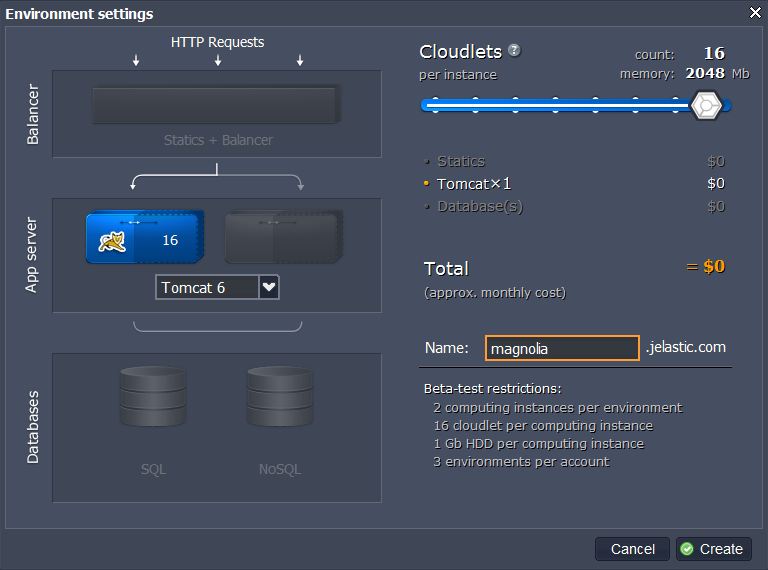
In a minute or so your environment will be ready.
2. Download Magnolia CMS package
Now that we have created a hosted environment we need to get the actual Magnolia CMS package to host there.
- Go to http://www.magnolia-cms.com/ and click Download Magnolia CMS Now,
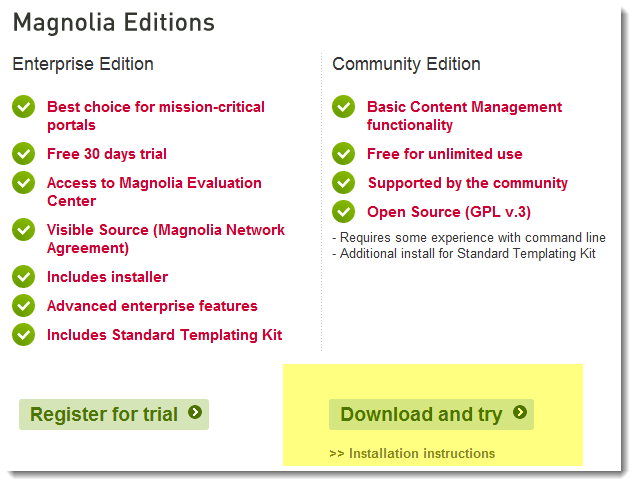
- This will get you to the Magnolia downloads page, where you can either register for the enterprise edition trial, or click Download and try for the community edition:
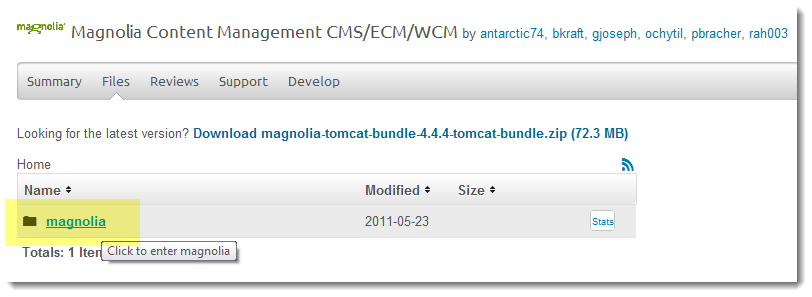
3. You don't need the Tomcat bundle (we've got Tomcat running already!) so ignore the bundle and go into the magnolia folder:
4. Click the folder with the latest version:

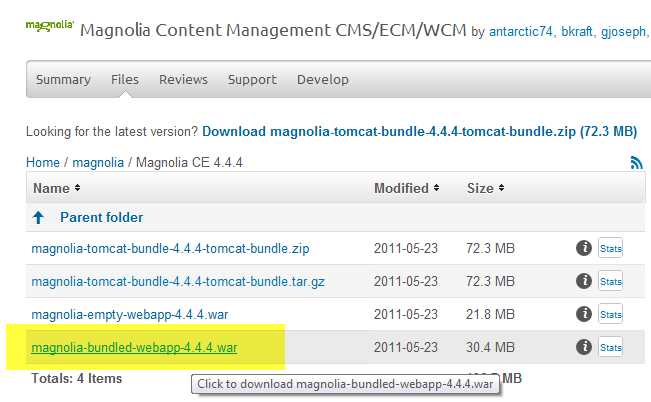
5. Download the WAR package that you need:
3. Deploy Magnolia CMS
Now that we've got the environment and the Magnolia CMS package it is time to deploy!
- Back in Jelastic dashboard, click the Upload button in middle left of the screen:

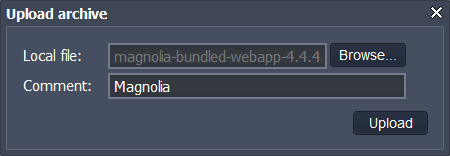
2. Browse to the Magnolia CMS WAR package, optionally provide any comment you would like, and click the Upload button:
3. You will see that the Archive uploading task got added to the Tasks list and can track the upload progress:

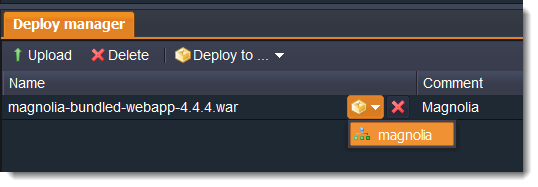
4. Once the upload is over, click the Deploy to... button next to the package in the Deploy manager, and pick your environment as the target:
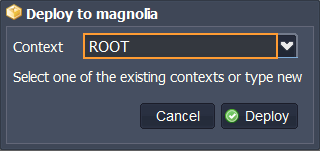
5. You can then optionally create a context for the deployment (you would do that if you want to run multiple applications on one server - each would get a subURL based on the context you specify - e.g. myenvironment.jelastic.com/mycontext), just leave it as ROOT if you don't need subURLs:
6. Once the deployment is finished you can click the Open in browser button for the environment:

With the "One click" install option you can have Magnolia CMS up and running within minutes. Our application packaging gives you rapid and stable multitenancy. The process is simple. Just a few clicks and you are done. Navigate to our Solutions page, select Magnolia from the list of available apps and get it hosted in a minute, skipping the steps of manual installation. You can find more details about Jelastic App Packaging.
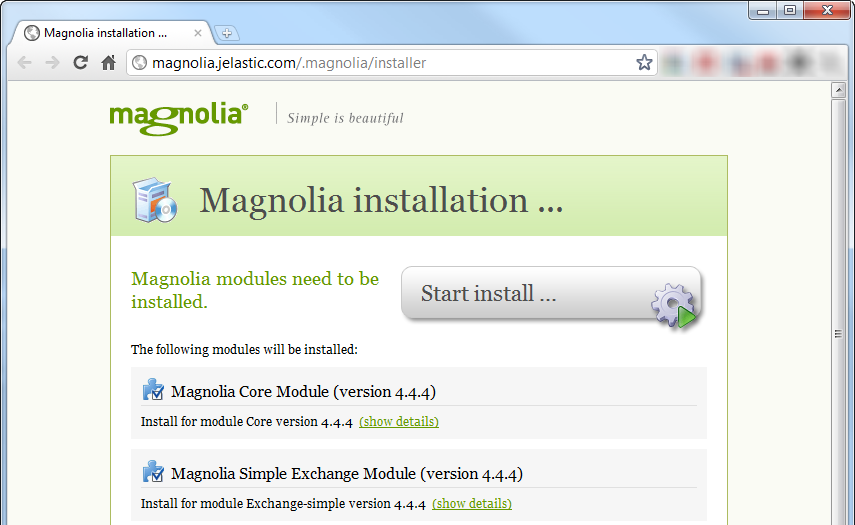
7. And in the browser, basically follow Magnolia's instructions. First click the Start install button:
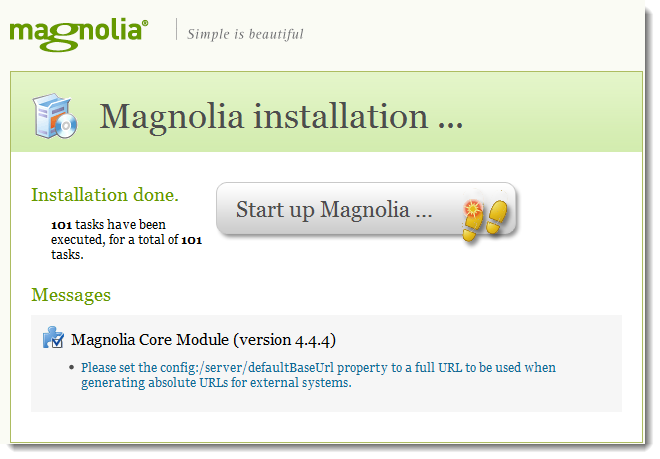
8. Then Start up Magnolia:
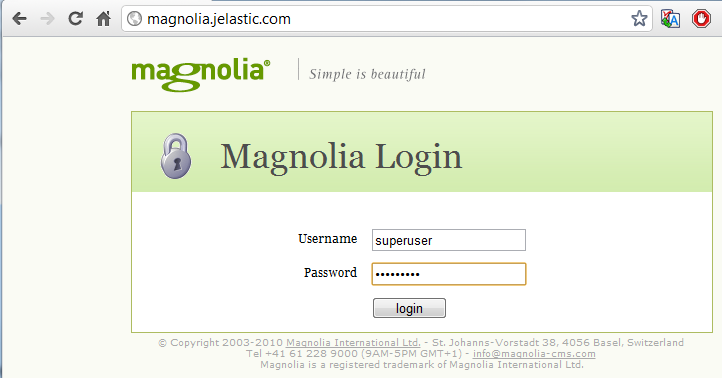
9. Then just sign-in at the login page:
- Username:
superuser - Password:
superuser
That is it. You now have your own private instance of Magnolia CMS up and running!
Bottom-line is: Jelastic makes it extremely easy to get any Java application up and running.