Upgrade & Refill Account
After the initial trial period, if you are satisfied with our product and wish to continue to use the platform, your account should be upgraded to the billing one. The conversion will additionally remove any limitations and provide access to all of the available functionality.
Tip: If you don’t have an account yet, choose the most suitable service provider for you (based on the geolocation, performance, support quality, etc.) and sign up for a free trial.
The platform will automatically send the confirmation email, so just follow the provided instructions (an additional captcha or SMS verification may be required).
1. Log into the platform dashboard and click the Upgrade Account button at the top.

Also, you can expand this menu for additional information on the trial limitations, pricing, and recent resource usage.
2. Within the opened window, you need to provide the requested personal data and to accept the Terms of Service agreement in order to create your billing account.
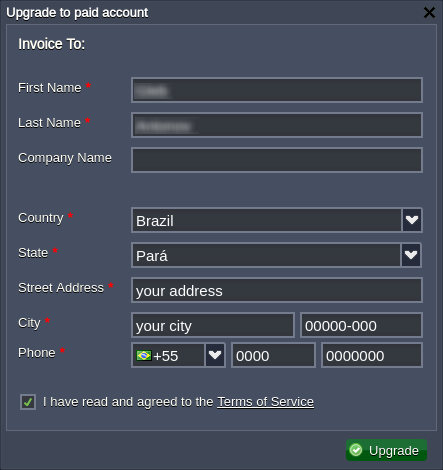
Click Upgrade and complete an obligatory first balance refill to finalize the conversion.
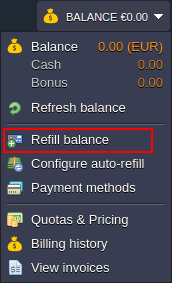
3. For the following payments, expand the Balance menu at the top of the dashboard and click the Refill Balance option.
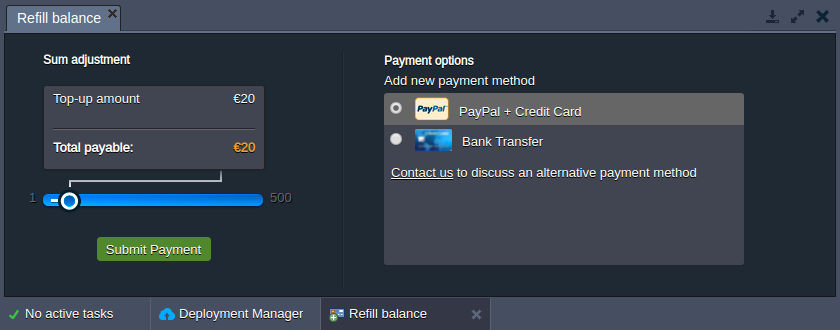
4. Within the opened panel you can set the required refill sum (using the appropriate slider) and choose the preferred payment method.
Notes:
- if the VAT number (tax amount) for the payment is equal to zero, it can be hidden within the dashboard UI, depending on your hosting service provider settings
- if you can not find your preferred payment method among the available ones, click the contact us link to discuss the possibility of using alternative options
Click the Submit Payment button and fulfill the invoice via the chosen payment system.
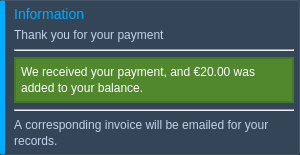
5. After successful money transfer, you’ll see the appropriate pop-up within your dashboard.
6. Also, you can automate the process with the help of the auto-refill option (Balance > Configure auto-refill). Here, specify payment sum/method and additionally select the refill condition:
- Weekly (every Monday)
- Monthly (1st of each month)
- Balance less than the specified sum
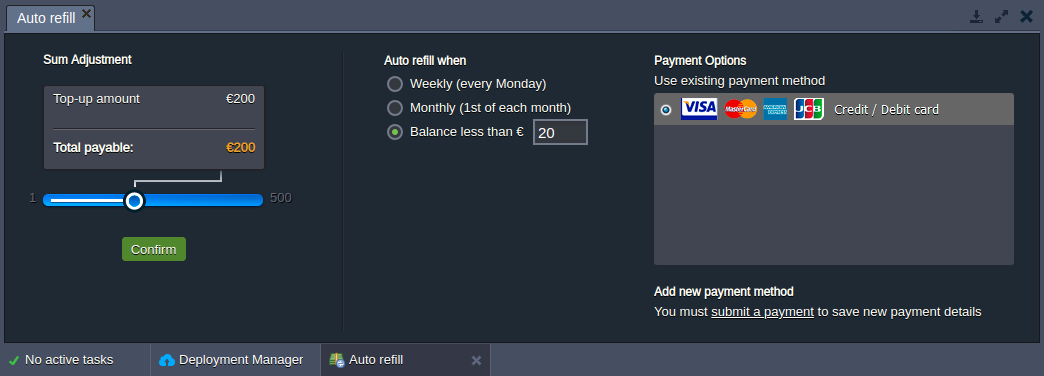
Click Confirm to enable auto-refill for the account.
Now, you know how to convert to billing and how to keep your account active with a regular balance refill.