WordPress Project Installation
Virtuozzo Application Platform for WordPress provides a quick and automated installation procedure for the new project creation. The built-in production/staging functionality helps implement various DevOps integrations. Let’s see these processes in detail:
Installing Project
The platform has a simple yet powerful installation wizard that automates the creation of new WordPress projects based on your needs.
1. Click the Create New Project button at the top-right corner of the dashboard.

2. In the opened wizard, you need to provide Project (an alias for easy identification) and Sub-domain Names as the first step.
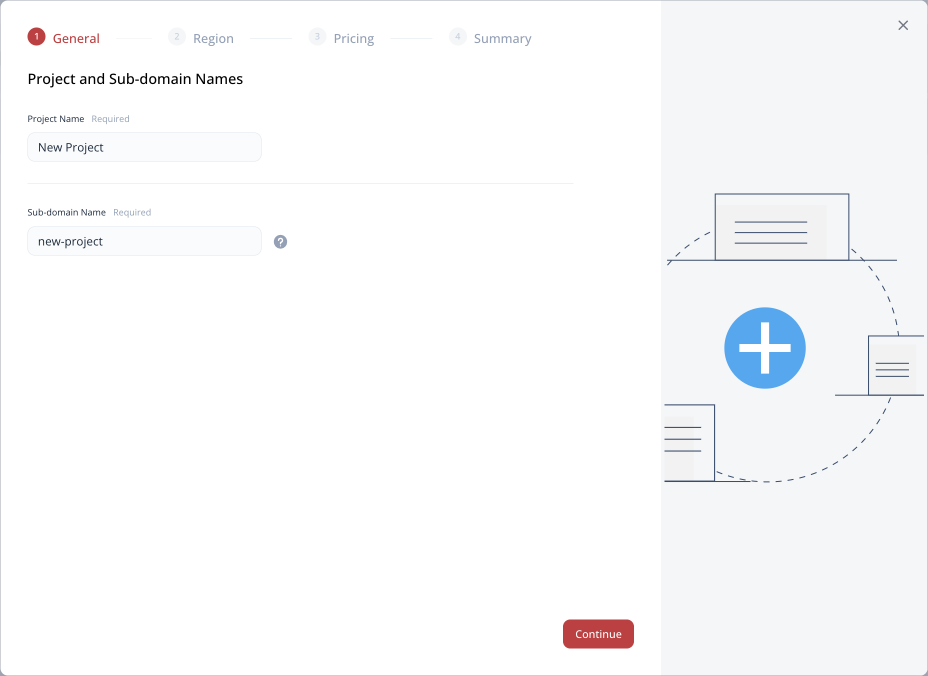
Click Continue to proceed.
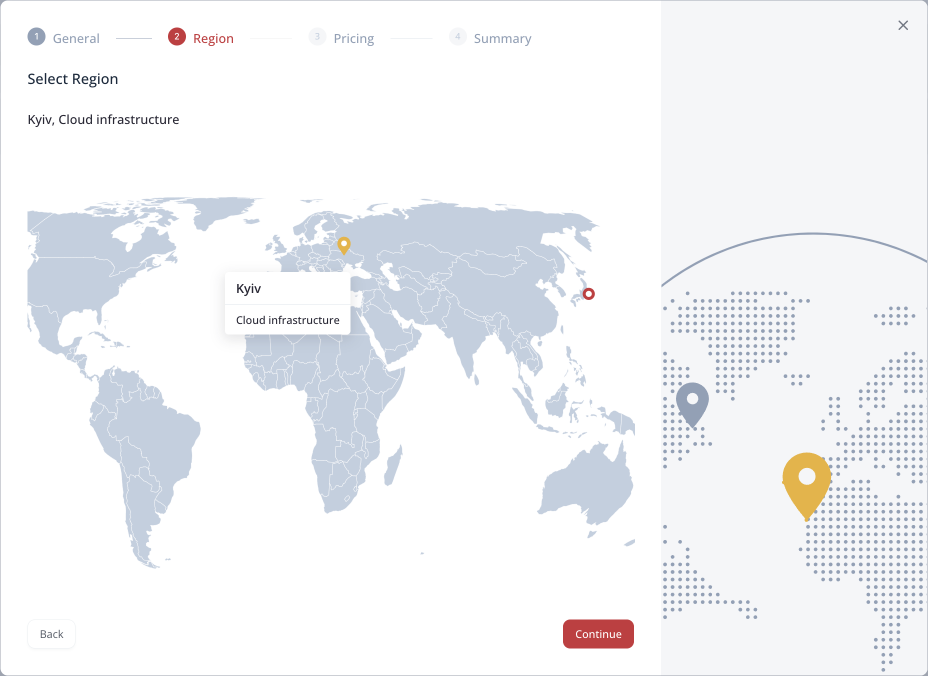
3. Choose a Region from the interactive map (depending on the options available, only part of the map may be available) and Continue to the next step.
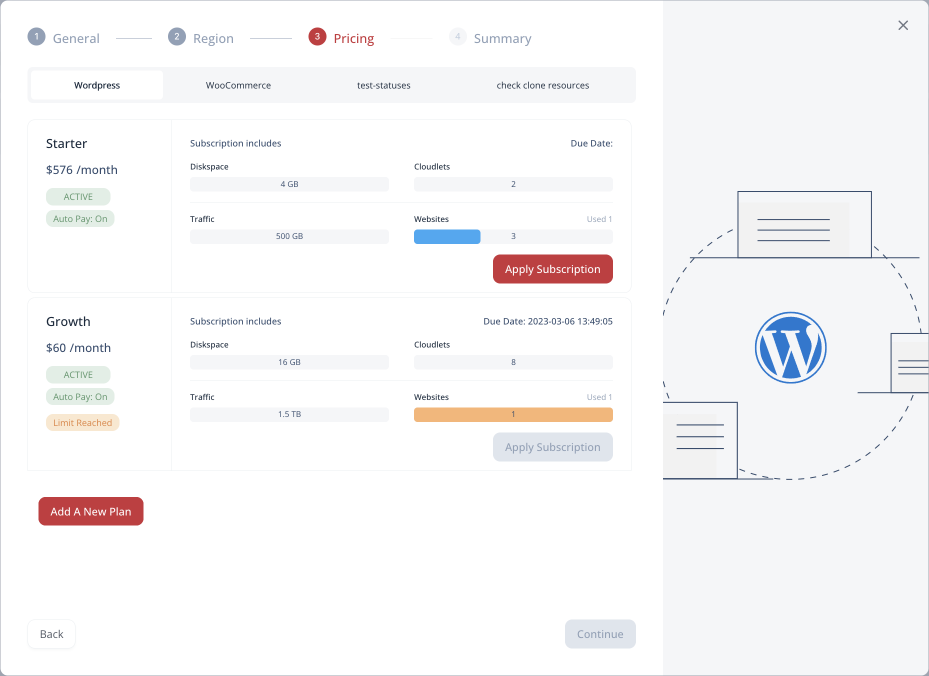
4. On the Pricing step, you can see the list of existing subscriptions (if any) and add your new project to one of them using the Apply Subscription button. If the websites limit is reached, the new instance cannot be added to such a subscription.
5. In case you don’t have any or want to add a new subscription (click the Add A New Plan button), configure the preferred topology as follows:
- choose the base package for your project (tabs at the top)
- use the toggle to switch between monthly and annual subscription
- click Select for the tariff plan based on the price and resource limits:
- enable or disable the Auto Pay option for the required plan to make automatic charges using your default payment method
- set the required number of Websites (i.e. how many projects it will be possible to create under this subscription)
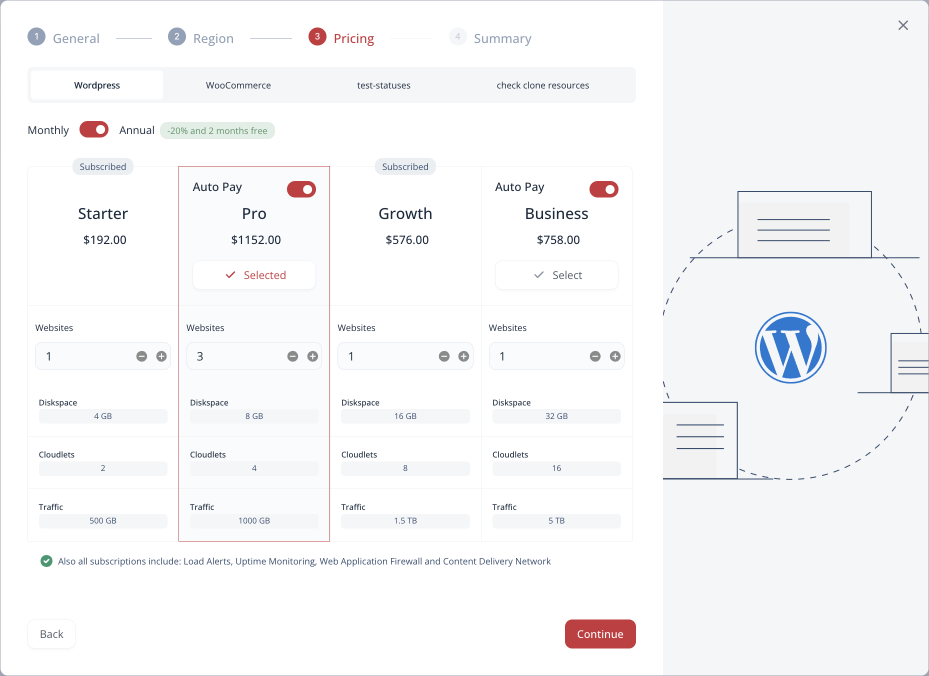
Click Continue to create your new subscription and add the project to with the Apply Subscription button (as described in the previous step).
6. Lastly, review your project summary and click Create New Project to start the installation.
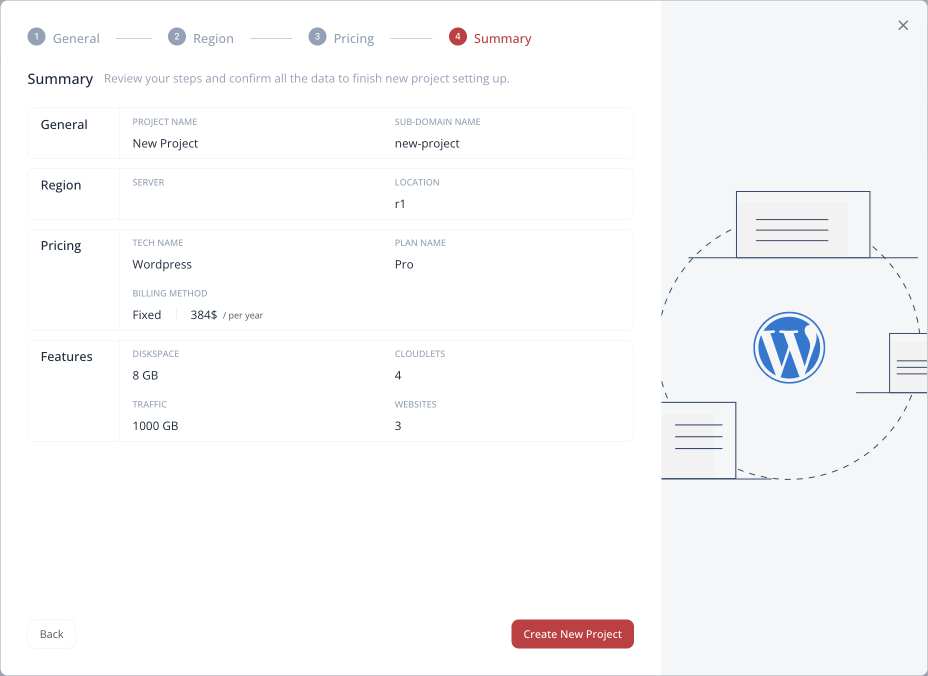
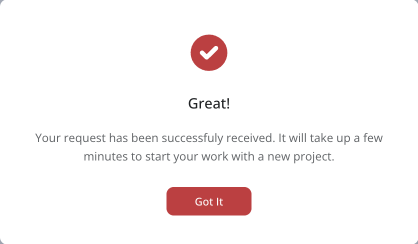
7. Your new project will appear in the dashboard in a few minutes. Be sure to check your email for additional information on the project (e.g., access credentials for the database and WordPress admin panels).
Now you can proceed to the Project Management guide.
Staging Project
If you want to create the development/staging pair for your project, the platform provides the built-in functionality to keep it organized (no need to create a separate project).
1. A new project is considered “production” by default. In order to add a “staging” one, go to the required project and use the corresponding drop-down list (circled in the image below).
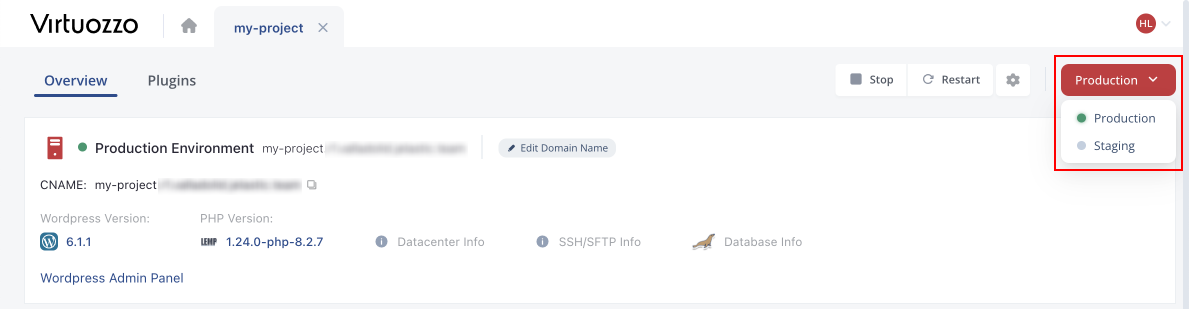
2. After switching to Staging, click the Copy from production option to create the staging environment with the same topology as your production environment (with custom changes made up-to-date).

The platform will start the staging environment creation after the confirmation. Once it is ready, you can begin implementing your DevOps flow using the stage and production environments.
Deleting Project
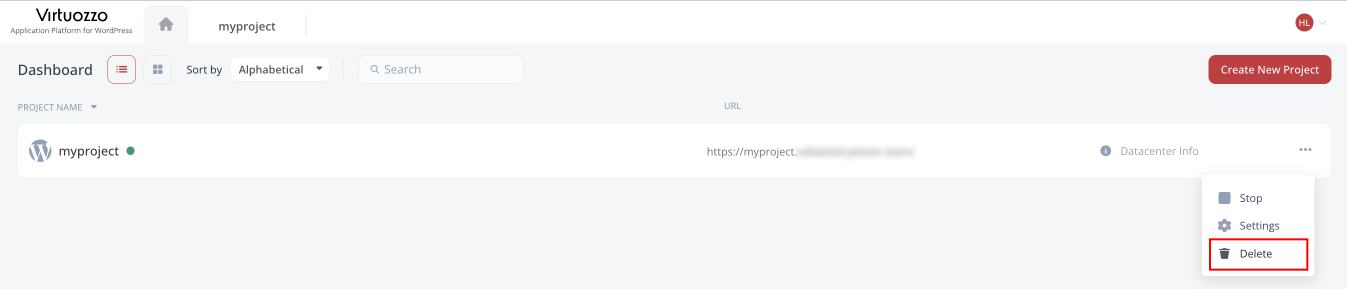
In order to delete a project, you can choose the appropriate Delete option from the project’s menu on the home page.
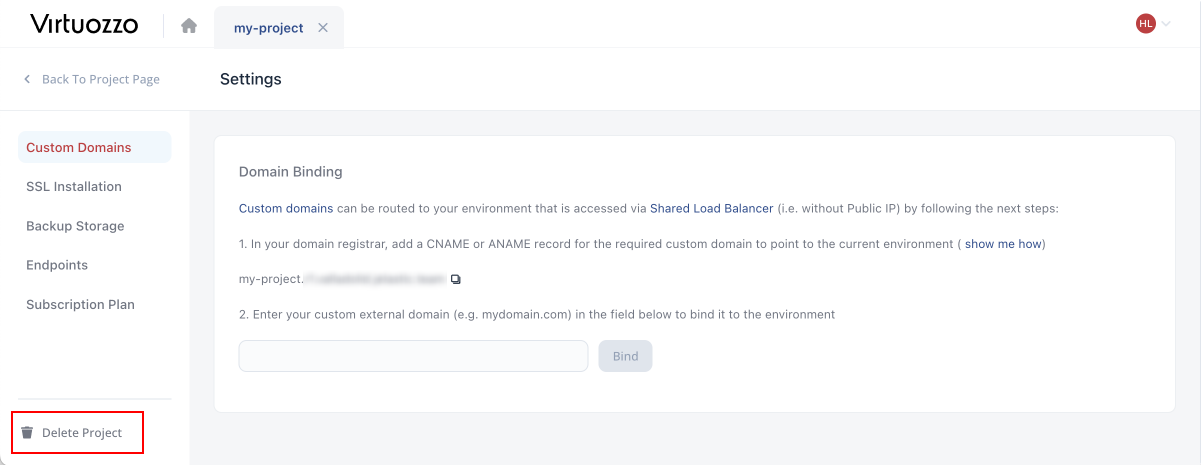
Alternatively, it can be done from the project’s page by navigating to the Settings section and clicking the Delete Project button at the bottom.
You’ll be asked to confirm the action by typing the project’s name.
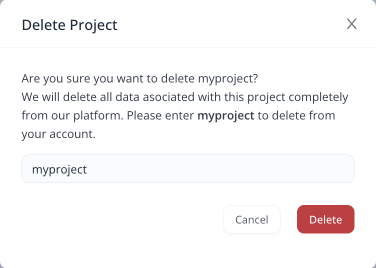
The project will be removed in a moment after the confirmation.